Published on May 18th, 2021
Anatomy of an effective flipped learning video
11 minute read

What is Flipped Learning?
One of the positive changes that we are seeing in a post-pandemic world is a reimagining of what learning will look like. One alternate option that has already proven successful is a flipped classroom model, which “flips the script” with regard to traditional classroom learning. This model aims to increase student engagement and learning by having students watch online video lectures, presentations, and readings from home first and then interact with activities and problem solve during class time. A primary benefit is that teachers are afforded the opportunity to create more personalized experiences for students while enabling them to maximize in-class time. When school hours are focused on helping students work through concepts and grow through active learning as opposed to a more traditional model, they are more engaged and positive about their experiences. Teacher created educational videos can be fundamental to the success of the flipped classroom. But creating a great video isn’t always easy. Here is everything you need to know about how to make yours effective and compelling.
How Do I Get Started?
To make an outstanding teacher-created video, having a plan and getting organized are the most essential first steps. This often begins with examining your technology options. Consider which tools you have access to and the format that your students will be viewing the videos on. Opt for a tool that makes filming, editing, and sharing your videos reasonable to execute. Keep in mind that the video format that you select should be compatible with any LMS (learning management system) in place. You’ll also need a way to to track student progress and measure engagement.
Next, organize your content so that it follows a storytelling arc. This may come in the form of crafting a storyboard and or script so that you feel more comfortable when speaking in front of the camera. Both can help to ensure that you stay on track with delivering your message. When possible, practice to gauge flow and make adjustments as needed. Like any good story, plan for an intro, middle, and summary for your video. Considering asking questions to establish a thread that can be used to weave through a cohesive series of lessons or smaller segments.
Set Yourself Up For Screen Success
Before you get the camera rolling, prep your space for filming. Make sure it’s well lit, quiet, and free of distraction. In terms of equipment, nothing fancy that requires extensive expertise is needed. A camera, a simple external mic, plus a white board and markers are a good place to start. Some teachers even film on their smartphones. Just be sure the resolution you are using is high, the quality is clear, and there is no background noise.
To truly set yourself up for success, find a tripod or stand to mount your camera on. You are the star of this show. Let your personality and passion shine. A sense of humor and enthusiasm go a long way when it comes to making a flipped video engaging. The best teacher-made videos are less about the amount of fancy technology and more about the quality of the message, language, and tone.
Timing is Everything
Of the important things you are considering during this process, video length should be at the top of your list. Keep it short and sweet. You might be surprised at how much you can fit into a short video. A good rule of thumb is that a 5 minute video can cover a typical 15 minute lecture. According to a 2020 study, the sweet spot is reported to be between 3-6 minutes to engage and maintain interest for students.
Each video should cover a single concept. If more time is needed, it is recommended that you group that information into smaller, more digestible sections. Those shorter segments can help keep the conversation flowing and displayed in order when it makes sense. Keep your focus on personalization when you can. This might mean offering some students who learn at an accelerated pace the opportunity to flow through a series of videos more quickly. Be sure to reinforce the most important parts of the lesson at the end. Communicate the assignment expectations as clearly as possible. If this is a new model of learning for your classroom, consider the first video to be an opportunity for both you and your students to practice.
Rock the Recording
Promethean has some excellent videos featuring fellow teachers to walk you through the setup process. Once you’re ready to record, give yourself a countdown, take a deep breath, and go for it. Look directly into the camera as if you are looking at your students in the classroom in front of you and speak with the same level of enthusiasm as you usually would. Your first video may feel a little awkward or uncomfortable. Know that you’re probably your own worst critic. Be patient with yourself. Record multiple takes and choose the version that you think is the clearest and best quality. No need to be perfect. Think of it as an opportunity to grow and improve over time.
Once you’ve recorded, save the files in high definition video formats to preserve quality and speed. To take your videos even further, consider using a screen recording application to capture both your image and your screen simultaneously. Write things out on your white board or tablet to call attention to them. There are tools that allow your camera to be mounted above it to help draw focus. To keep your lecture momentum flowing, you may want to draw diagrams, charts, or other visuals ahead of time so that you can point to them quickly. Use your white board to underline or highlight with different colored markers to differentiate points or notable items.
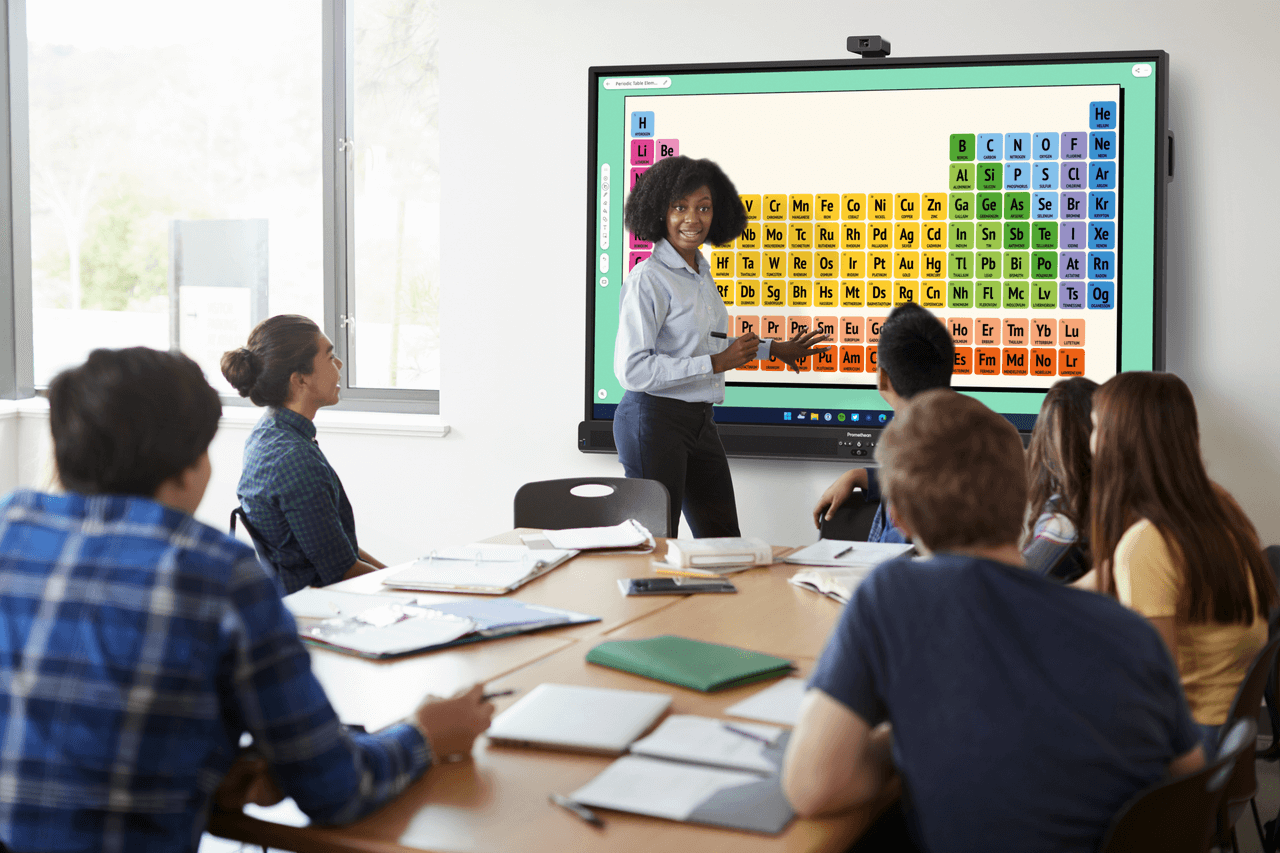
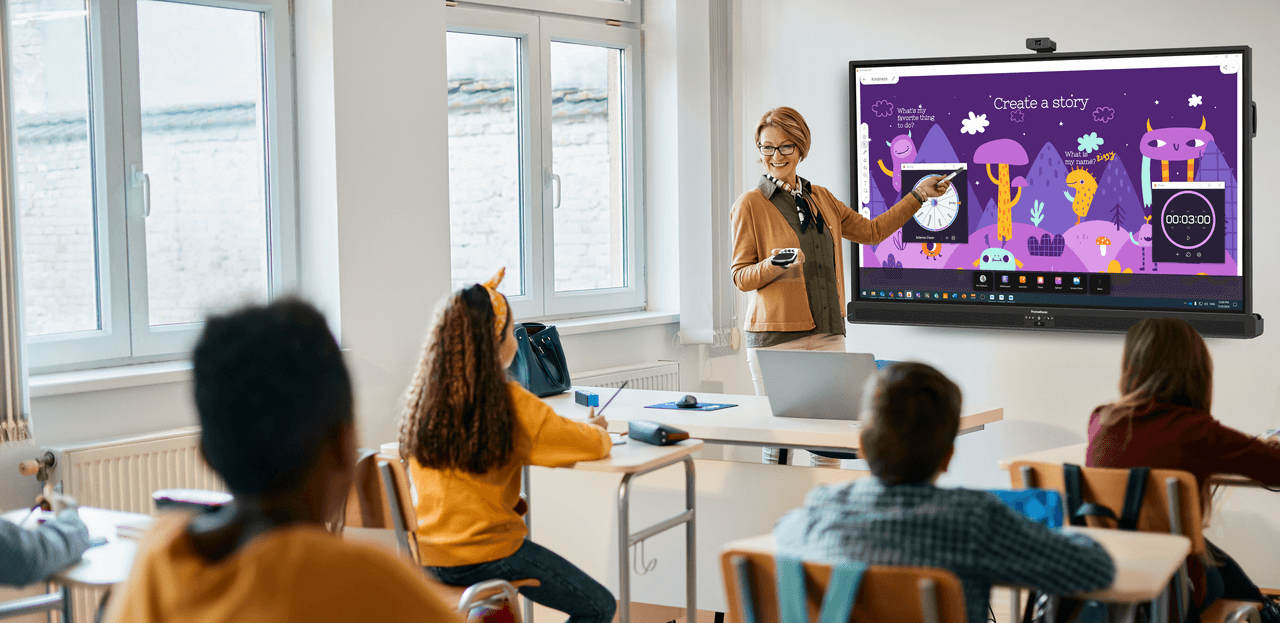
Want to take your flipped video to the next level? Current technology offers some powerful enhancements to truly make your content shine. Supercharge your screen with tech-powered interactive displays as alternatives to the traditional white board. They were created for teachers by teachers to help give you that extra edge. Or experiment with an annotation application that can add notes, underline, or highlight on the video to draw better attention to components of the lesson while increasing student engagement. Think about using multi-window technology tools to highlight your content even further.
Now that your recording is produced, take the time to edit if you can. Remove anything that is extra. If you find yourself with additional bandwidth, add optional, creative visual components to enhance your message. You could also share your first video with colleagues, friends, or family to solicit feedback or get a stamp of approval ahead of uploading it for your students. Use student feedback to improve your videos as you go. They’ll be able to help you identify areas where you can improve. Lean in on your successes and pivot when needed.
Deliver The Goods
Now that you’ve crafted a brilliant teacher-created masterpiece, you need to make sure that it’s available for sharing. Upload the video to a cloud-based storage application. Choose a solution that offers enough space to safely accommodate as many large video files as you need for an entire school year and works with any existing LMS.
Stay organized! Be sure to clearly label each video so that students can easily access what they’ll need each day. Provide thoughtful access instructions for students and their families. Offer tech support help to anyone that is less comfortable or may need it. If time allows, create a crib sheet checklist that students can quickly refer back to if they wish. Keep student engagement in mind as a final piece of the iterative process. Review viewing habits and behavior (if available) to gain extra insights.
Lights, camera, action, and go! You’re now armed with everything you need to successfully create and launch an effective flipped learning video.